Uploading Custom Fonts
Earlier, using a custom font in a React Native app meant manually copying .ttf files into the project and hand-editing font.config.js. Style Workspace now has an Upload Font Family option under the Text tab's Font.Family token, so you can add custom fonts directly from Studio.
Uploading a font
-
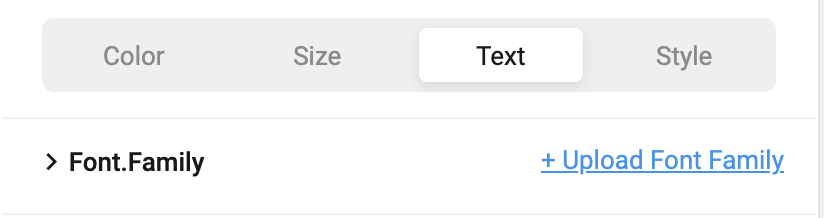
In the Text tab, expand Font.Family and click + Upload Font Family.
-
In the Upload Font Family dialog, drag and drop (or click to browse) the
.ttffiles for a font — for example, all the weights and styles of Roboto downloaded from Google Fonts. Upload the files as downloaded, without renaming them. -
Studio groups the uploaded files into font families automatically. It first reads the family name from each font file's internal metadata, and falls back to the file name only if metadata isn't available. Files that resolve to the same family (for example
Roboto-Regular.ttf,Roboto-Bold.ttf,Roboto-Italic.ttf) are grouped under one entry, such as Roboto.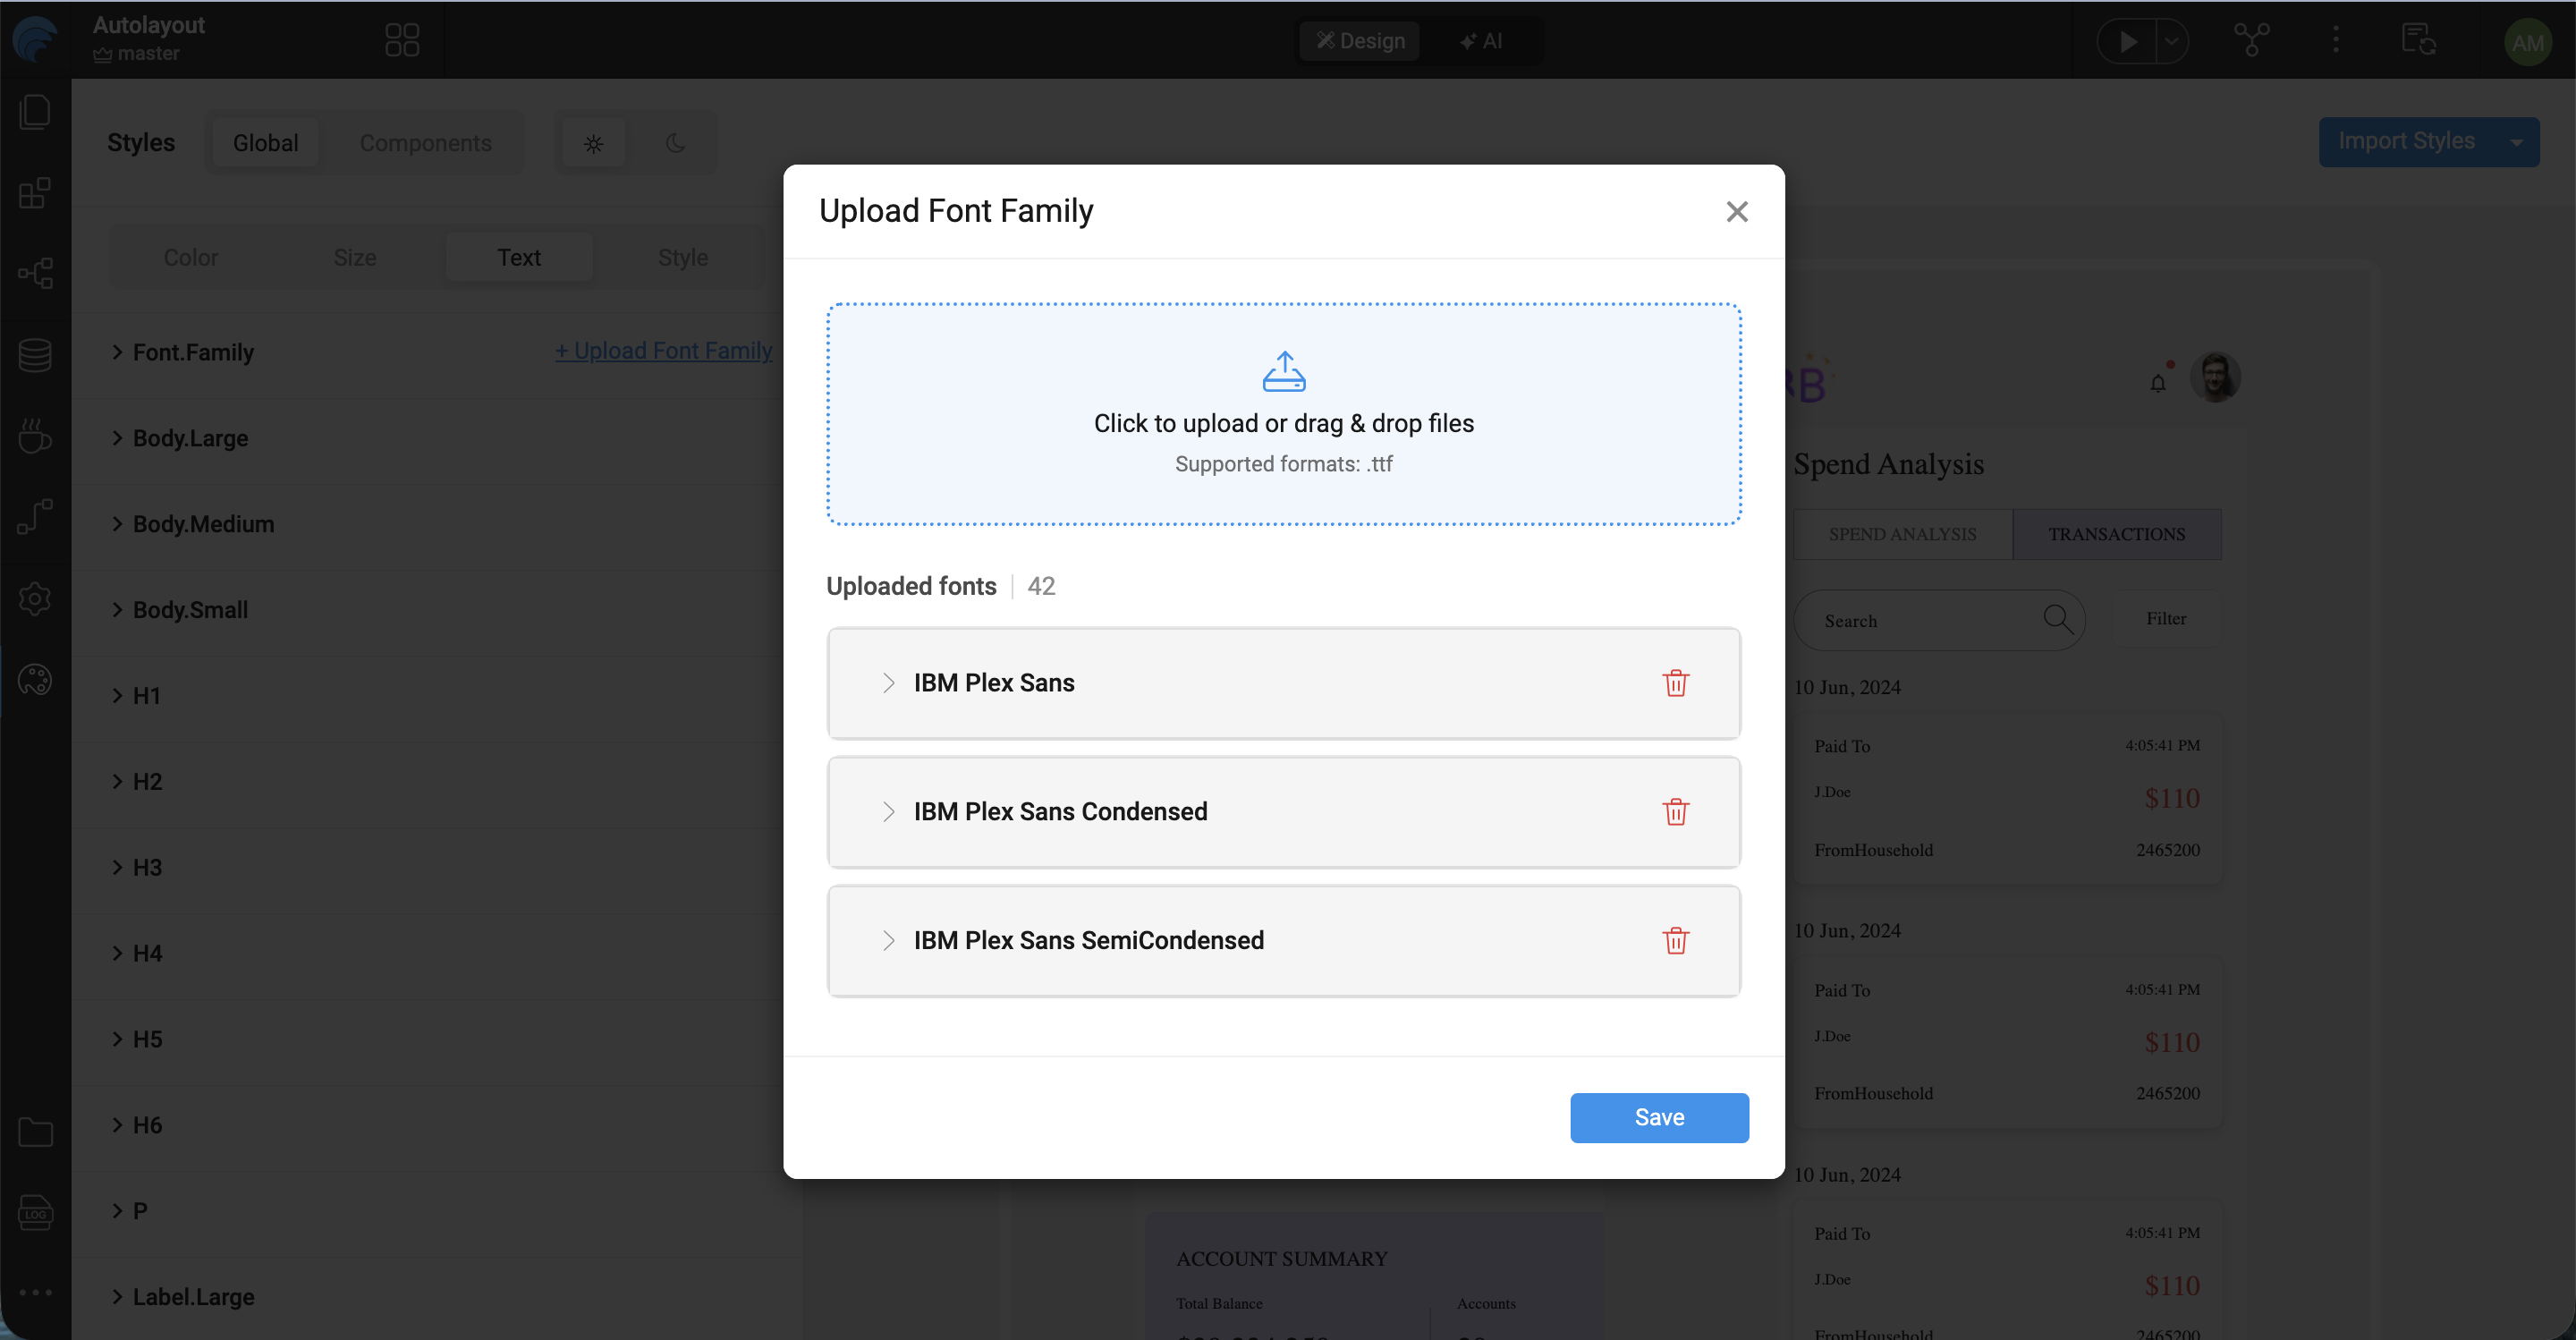
Expand a family to review or adjust the Fontface-Name and Font Style detected for each file before saving.
-
Click Save. The uploaded families are now available wherever a font family is selected.
Selecting an uploaded font
Once fonts are uploaded, Font.Family (and the brand, plain, and backup derived tokens) become a dropdown instead of a free-text field. Selecting a family expands its uploaded weights and styles (Regular, Bold, Italic, SemiBold, and so on) so you can pick the exact face to use.

For how font.family.brand/plain/backup tokens are used across the app, see Introduction to Foundation CSS — Global tokens.