Deployment to Heroku
Heroku is a platform as a service (PaaS) that enables developers to build, run, and manage applications entirely in the cloud. Developers can setup a Continuous Integration pipeline for a wide range of technologies.
This post demonstrates how you can deploy a WaveMaker app to Heroku. You can also setup auto deploy from an associated GitHub account.
The process can be divided into following three steps:
- Configuring WaveMaker App for Heroku - which includes
- configuring Heroku's webapp-runner plugin
- adding Heroku's Procfile
- setting app in external repo
- Creating and Configuring Heroku App including
- creating Heroku app
- connecting it to the external repo
- Deploy and Run the App
Pre-requisites
- A WaveMaker App.
App Configuration Setup for Heroku
-
Open the WavaMaker App you want to deploy to Heroku.
-
Configure Heroku’s webapp-runner plugin - Open pom.xml and add the following (as mentioned in the section “Configure Maven to download Webapp Runner” of this article.).
org.apache.maven.plugins maven-dependency-plugin 2.3 package copy com.github.jsimone webapp-runner 8.0.30.2 webapp-runner.jar 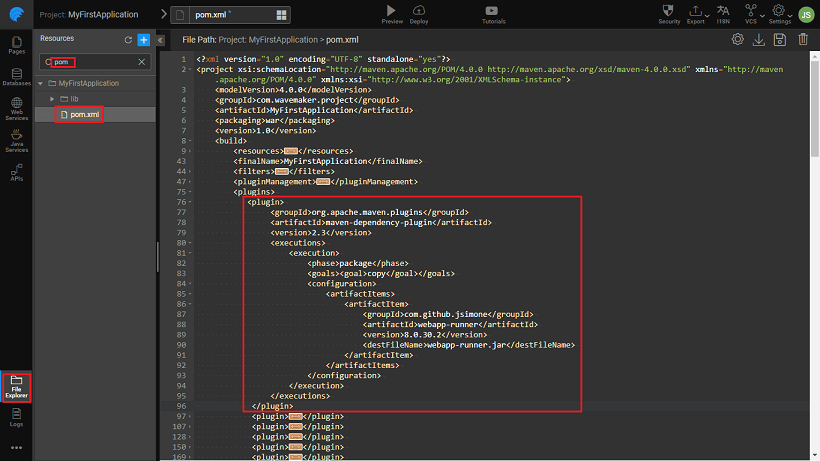
-
Add a Heroku’s Procfile to WaveMaker App
-
Using the instructions at Deploy your application to Heroku→ Create Procfile create the Procfile as a local file on your machine
-
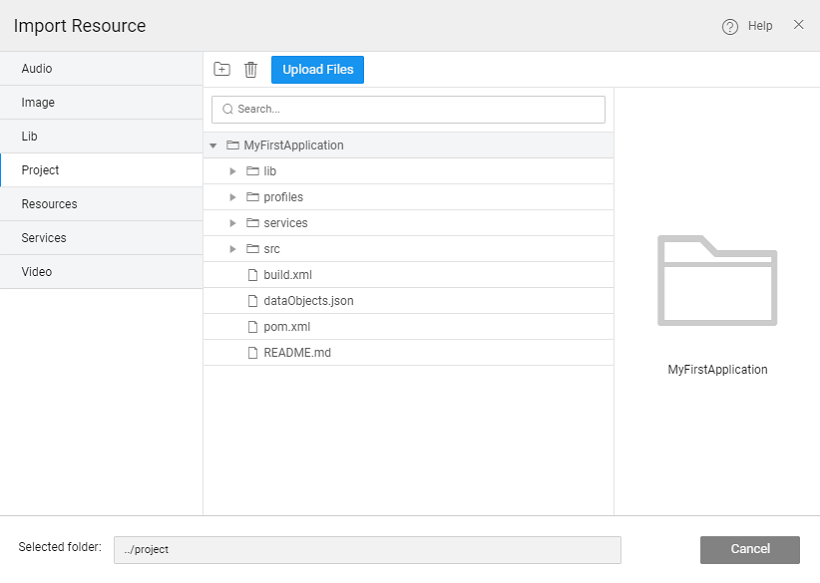
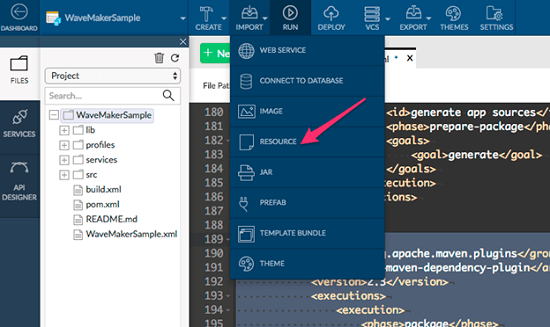
Upload it to the root of WaveMaker project using the Import -> Resource menu

-
-
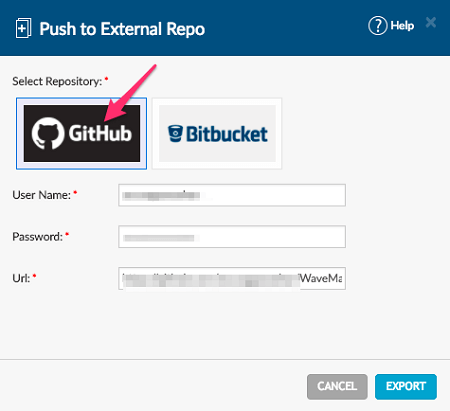
Set up app in External Github Repository
-
Push your application to External Repository

-
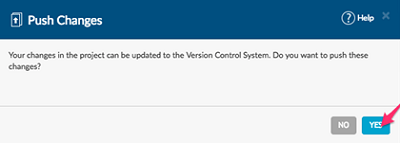
Push changes if prompted

-
Provide your GitHub credentials and a new repository name.

-
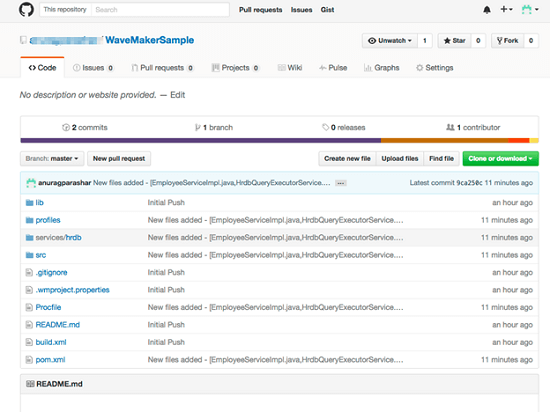
The repository will be created and code will be pushed to your GitHub account.

-


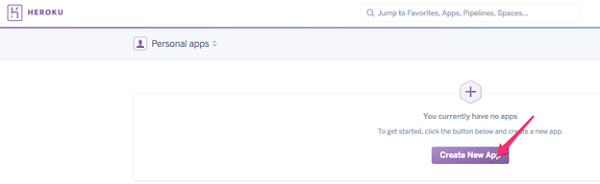
Create and Configure Heroku application
-
Create a new application in Heroku.

-
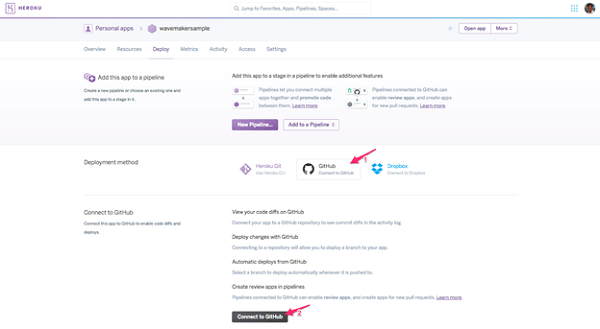
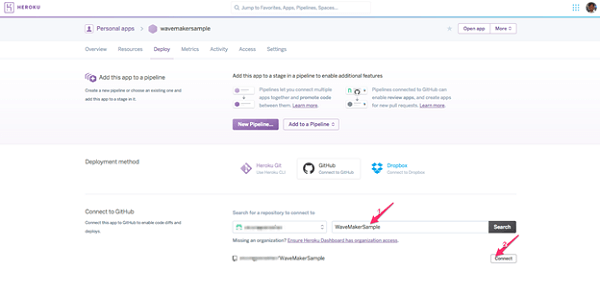
Connect Heroku application to GitHub.
-
Provide GitHub project name and connect.

-
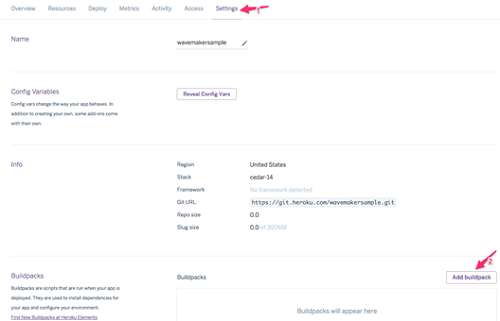
From Settings Add buildpack

-
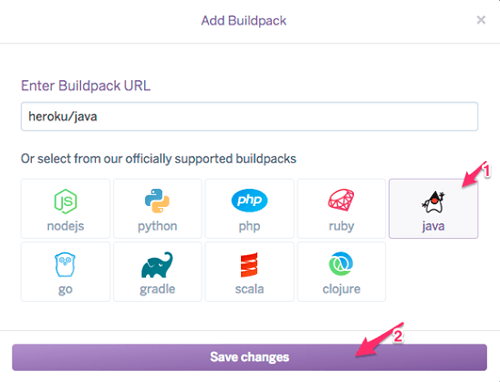
Select Java and Save changes


Deploy and run the application
-
From the Deploy tab, Deploy Manually.

-
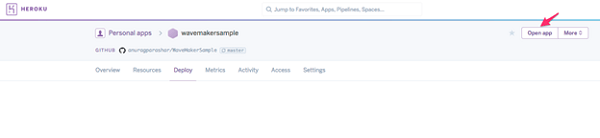
Open Heroku application after the deployment is done.

-
Your app is now running in Heroku
-
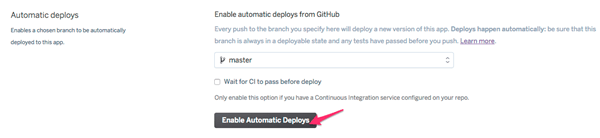
Finally, enable auto deployment. Any push to GitHub repository will automatically deploy your application now.


Deployment to Heroku